You’ve always wanted to get to the top of the Eiffel Tower and contemplate Paris’s unique view. Or maybe you want to try how pizza tastes in Italy? Have you ever dreamt of diving with sharks? Or perhaps something less risky like taking a bath with a Thai elephant?
Of course, you do, but these things cost a fortune, right? And you can’t just organize it yourself.
…
Right?
…
Actually no.
Nowadays, self-arranged journeys are getting more and more popular, and it is easier than ever to do it. You don’t need travel agencies telling you where and when to go, costing you double in the end. Arranging the journey yourself would not only save you money but would also give you a tailor-made experience suited to all your likes and needs. Trust me on this one. It may sound complicated, but all you need is a working phone, an internet connection, and some comfy shoes.
See the way I do it and go bath that elephant yourself!
Step 1 – Pick The Right Destination

Since you are reading this, you probably have a particular destination in mind. If your schedule is flexible, there are some overlooked checks you should consider doing:
- Unless you travel for a specific event, it is better to avoid any local holidays or festivals.
Flights are overpriced, the accommodation prices are sky-high, and the best hotels would already be booked. Sounds bad? That’s not all.
Regular transport may not work, the activities you have planned could be on vacation aaand the place would be overwhelmed by tourist crowds. Here is a helpful site to check for national holidays. - Avoid the tourist season.
But the tourist season has the best weather, why should I avoid it? While you’re researching your dream destination, thousands of other people do it as well … and (unless they’ve read this post too), they’ll pick the best season.
Unless you want to meet more tourists than locals, you will have to pick something a month before or after the top tourist period. Be wary not to choose too bad of a month, though. You don’t want to be stuck in a hurricane or something. The most popular months are usually the summer ones and the December holidays.
Here is a great site to help you avoid any wet seasons. - You don’t have a specific destination? Check Skyscanner’s inspire map or Google flights for ideas and best deals.
Step 2 – Find The Best Flight

You have your destination, and you’ve picked your travel month; It’s time to find a way to get there. Searching for a good flight is trickier than it sounds, but if you follow my tips, I can guarantee you’ll find what you are looking for.
- Start looking around three months before your desired departure. Check the prices every day for a week to see the average and set yourself a price goal – approximately 20% less than the average price. Make sure you check other airports in the area too.
- Be Flexible with your dates. Sometimes the same flight, just a day or two later (or earlier), can save you hundreds of dollars.
- Sign up for airline newsletters. For me, WizzAir and Ryanair for European flights. Qatar Airways, Emirates, Etihad, and Turkish Airlines for intercontinental flights. Air Asia and Cebu Pacific for Asian flights. Here is a handy Wikipedia list with all low-cost airlines by country.
- Sign up for cheap fare alerts. Chances to get your desired route are slim, but you never know. Some top offers there may even change your mind about where you wanna go. The best ones are HolidayPirate, SecretFlying, and my favorite- Scott’s cheap flights (this one is only for US flights now).
- Check the birthday of your favorite airlines. They always offer great deals on their birthdays.
- Use airfare search engines. It would be quite the hassle to check all the airlines every single day, so the search engines come to the rescue. If you find a reasonable price on any of them, make sure to double-check with the others too. You never know which one will offer you the most valuable deal. My go-to search engines are:
- Castaway tip – If you travel with a partner – pick the window seat and the aisle seat, leaving the middle one free. Unless it is a full flight (a rare occasion), no one will pick the middle seat, and you will have some extra space. If, however, someone sits there, he/she would be more than happy to switch with you – no one likes the middle seat.
- One more tip: If you use the European budget airlines, you’d have to check-in online. The service opens 24hrs before the flight, and most people do it right away. Don’t be like most of the people. The airline algorithm is programmed to give away the bad seats first (in case someone decides to make a late purchase). Delay the check-in until a few hours before the flight and enjoy your premium seat for free.
- Flight searching myth – “Always use an incognito browser since airlines charge you more when they see your search history ”. I have never seen anything like that, and neither of my travel friends has. No need to bother with this extra hassle.
Step 3 – Plan Your Itinerary
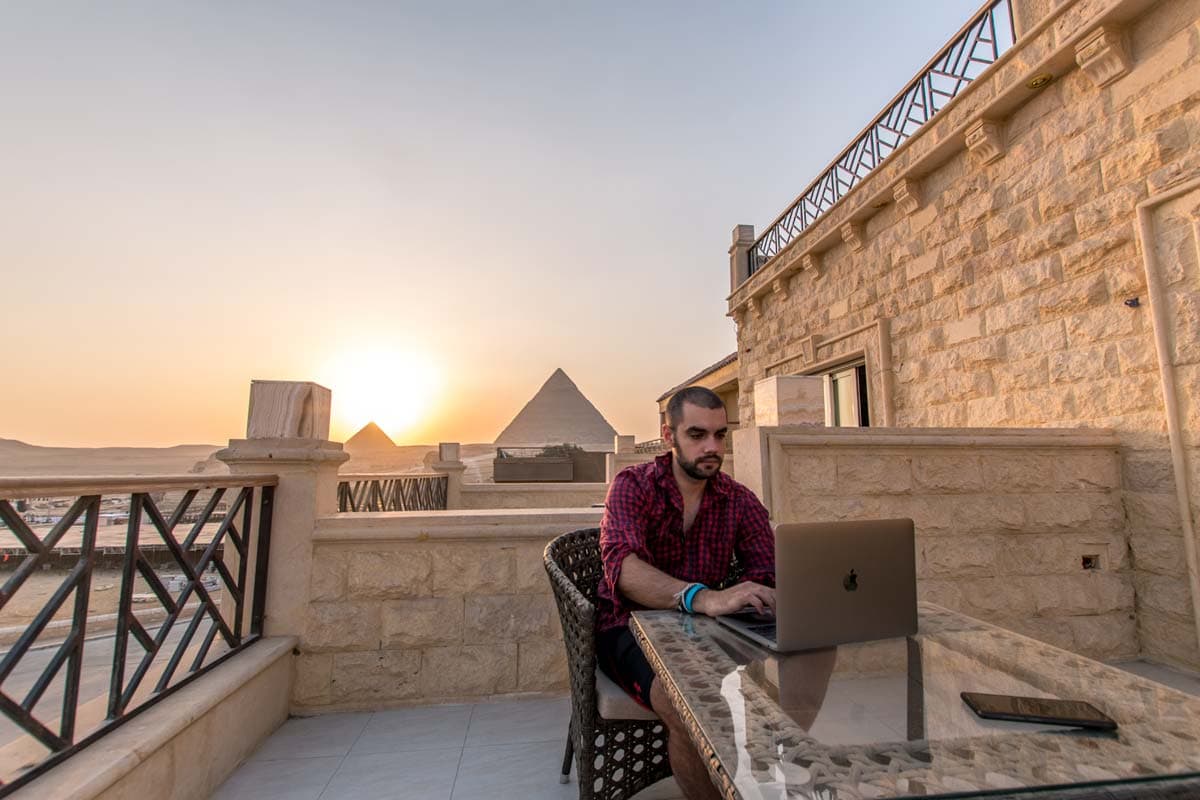
If your time is unlimited, you can just wing it and skip this step. If you are on a time-budget though, here is my way to best research a destination:
- Start your search with my Travel Bucket List. I’ve done the heavy lifting and researched every country in the world. No need to do all the things on the list, of course, but it’s a very convenient way to see the biggest must-sees of your target destination.
- Take a look at Trip Advisor. TA is a good place to see the most-prominent tourist spots. It’s also handy to find the local tourist traps. Be careful about fake reviews, though. Start your check from the 2 and 3-star ones. They are never fake and give you the most accurate data.
- Check out what your favorite bloggers/vloggers have to say about it. This is as close as it gets to inside information. You can even find a day-by-day guide and not bother yourself with further research. Make sure the info you get is from a blogger/vlogger you trust.
- If you are a photographer – check on Instagram (by hashtag or geotag) and find the most picturesque places.
- Lookup for some guided-tours sites. Most of the tours could be easily found on the spot. The difference? Getting one on the spot is risky. You can get an incredible tour, or you can get a nightmare show. The most significant advantage of online booking is the reviews. Find something highly rated by hundreds of people, and you can be sure you’re gonna have a good time.
Even if you don’t book anything, the tours will give you pointers for your itinerary. - Mark your goals on Google Maps / Maps.me. This would help a lot when searching for a hotel. Also, it’s easier when you create your daily itinerary. Maps.me work offline too, so it may save you a lot of trouble.
- Research the airport transfer. Every major airport I’ve been to has some public service shuttle. Just a little research would help you avoid pricy hotel transfers or scammer taxis.

Trip Advisor is one of the most popular travel sites out there.
You need the: Things to do in (fill in your destination here) category. Scroll down and see the highlights of your destination. Trip Advisor is full of fake reviews, so don’t make much of them. Check out the pictures, and if you like what you see, add it to your itinerary.

GetYourGuide is the largest online tour provider. It not only has a gazillion of tours but also online tickets for (seems like) everything. And they are often discounted.
I’m not a big fan of organized tours, but there are times it’s the most convenient option, so I used it quite a lot.
Most of the comments and ratings in GetYourGuide are genuine.

Instagram is the place that has given me a lot of ideas. Search by hashtag or geolocation and get familiar with your destination before your arrival.
Step 4 – Find the Perfect Accommodation

You have your dates now, and you’ve marked your activities. It’s time to find the bed for the night.
- Check out a map with your highlights (the ones you marked) and find a hotel in the nearby area. The best location is the cornerstone of your trip.
- If it’s a big city, research the best transportation methods and book a place close to a metro station/bus stop.
- For your last night in the city, try to find a hotel close to the airport (especially if you have an early flight).
- When researching a place, always go through the reviews, especially the bad ones. See what’s the worst you can expect and decide if it’s worth the price. If I see comments about thin walls or a lousy view, I ignore them but, if the complaints are about missing gear or cockroaches, it’s a deal-breaker.
- If you use Airbnb, look for Superhosts or places with at least ten reviews. The reviews should not be older than three months. If something seems too good to be true, in most cases, it’s a trap. Following these rules, I’ve stayed in dozens of Airbnb’s and never had a bad experience.
- The best places to find accommodation are:

Booking.com is the world’s leading accommodation site. Infinite options, quite useful search via map and non-stop offers and discounts. Also the easiest cancellation option out of all accommodation websites.

Airbnb lets you rent or share a local apartment, house, cabin, or even a cave (Jordan). It’s often cheaper than a hotel and allows you to interact with the natives and better understand your destination’s culture.
Airbnb is incredibly useful all around the world. Make your pick carefully, and you will not only save money but (in most cases) will also have the chance to interact with a knowledgable local host who can show you the secret gems around.
If you’re new to Airbnb, get 40 USD off your first stay!

It’s hard to compete with Booking.com, but Agoda does it quite well. The user interface is not as good, but Agoda has a significant Asian database, and it’s not that rare to have better offers than Booking.
Step 5 – Get a Travel Insurance

Leaving without travel insurance is not a good idea. There are so many things that can go wrong abroad and end up costing you a fortune. Insurance would ease-off your mind tremendously, and even if you don’t end up needing it, it would’ve done quite a lot for your travel.

Recommended by National Geographic, Lonely Planet, and hundreds of bloggers, World Nomads insurance is not only going to cover you (and your gear) from various misfortunes but is also cheap and easy to get. I use them every time I travel, and I’ve never had an unresolved issue.
Step 6 – Pack Your Bags And go!

You have any questions or suggestions?
Don’t hesitate to contact me




Mike Zimmerman
Friday 16th of September 2022
You have a a web site?